
A roller chain that breaks repeatedly in the same drive — even after replacement — is not a product quality problem in most cases. It is a symptom of an underlying drive design, maintenance, or installation issue that the replacement chain will inherit and fail from just as quickly as its predecessor. Working through the root cause systematically, rather than assuming the chain is defective, is the only way to break the replacement cycle. This article covers the seven most common causes of repeated roller chain failure, how to identify which one is responsible in your drive, and what to do about it.
Cause 1: Overloading Beyond the Chain Working Load
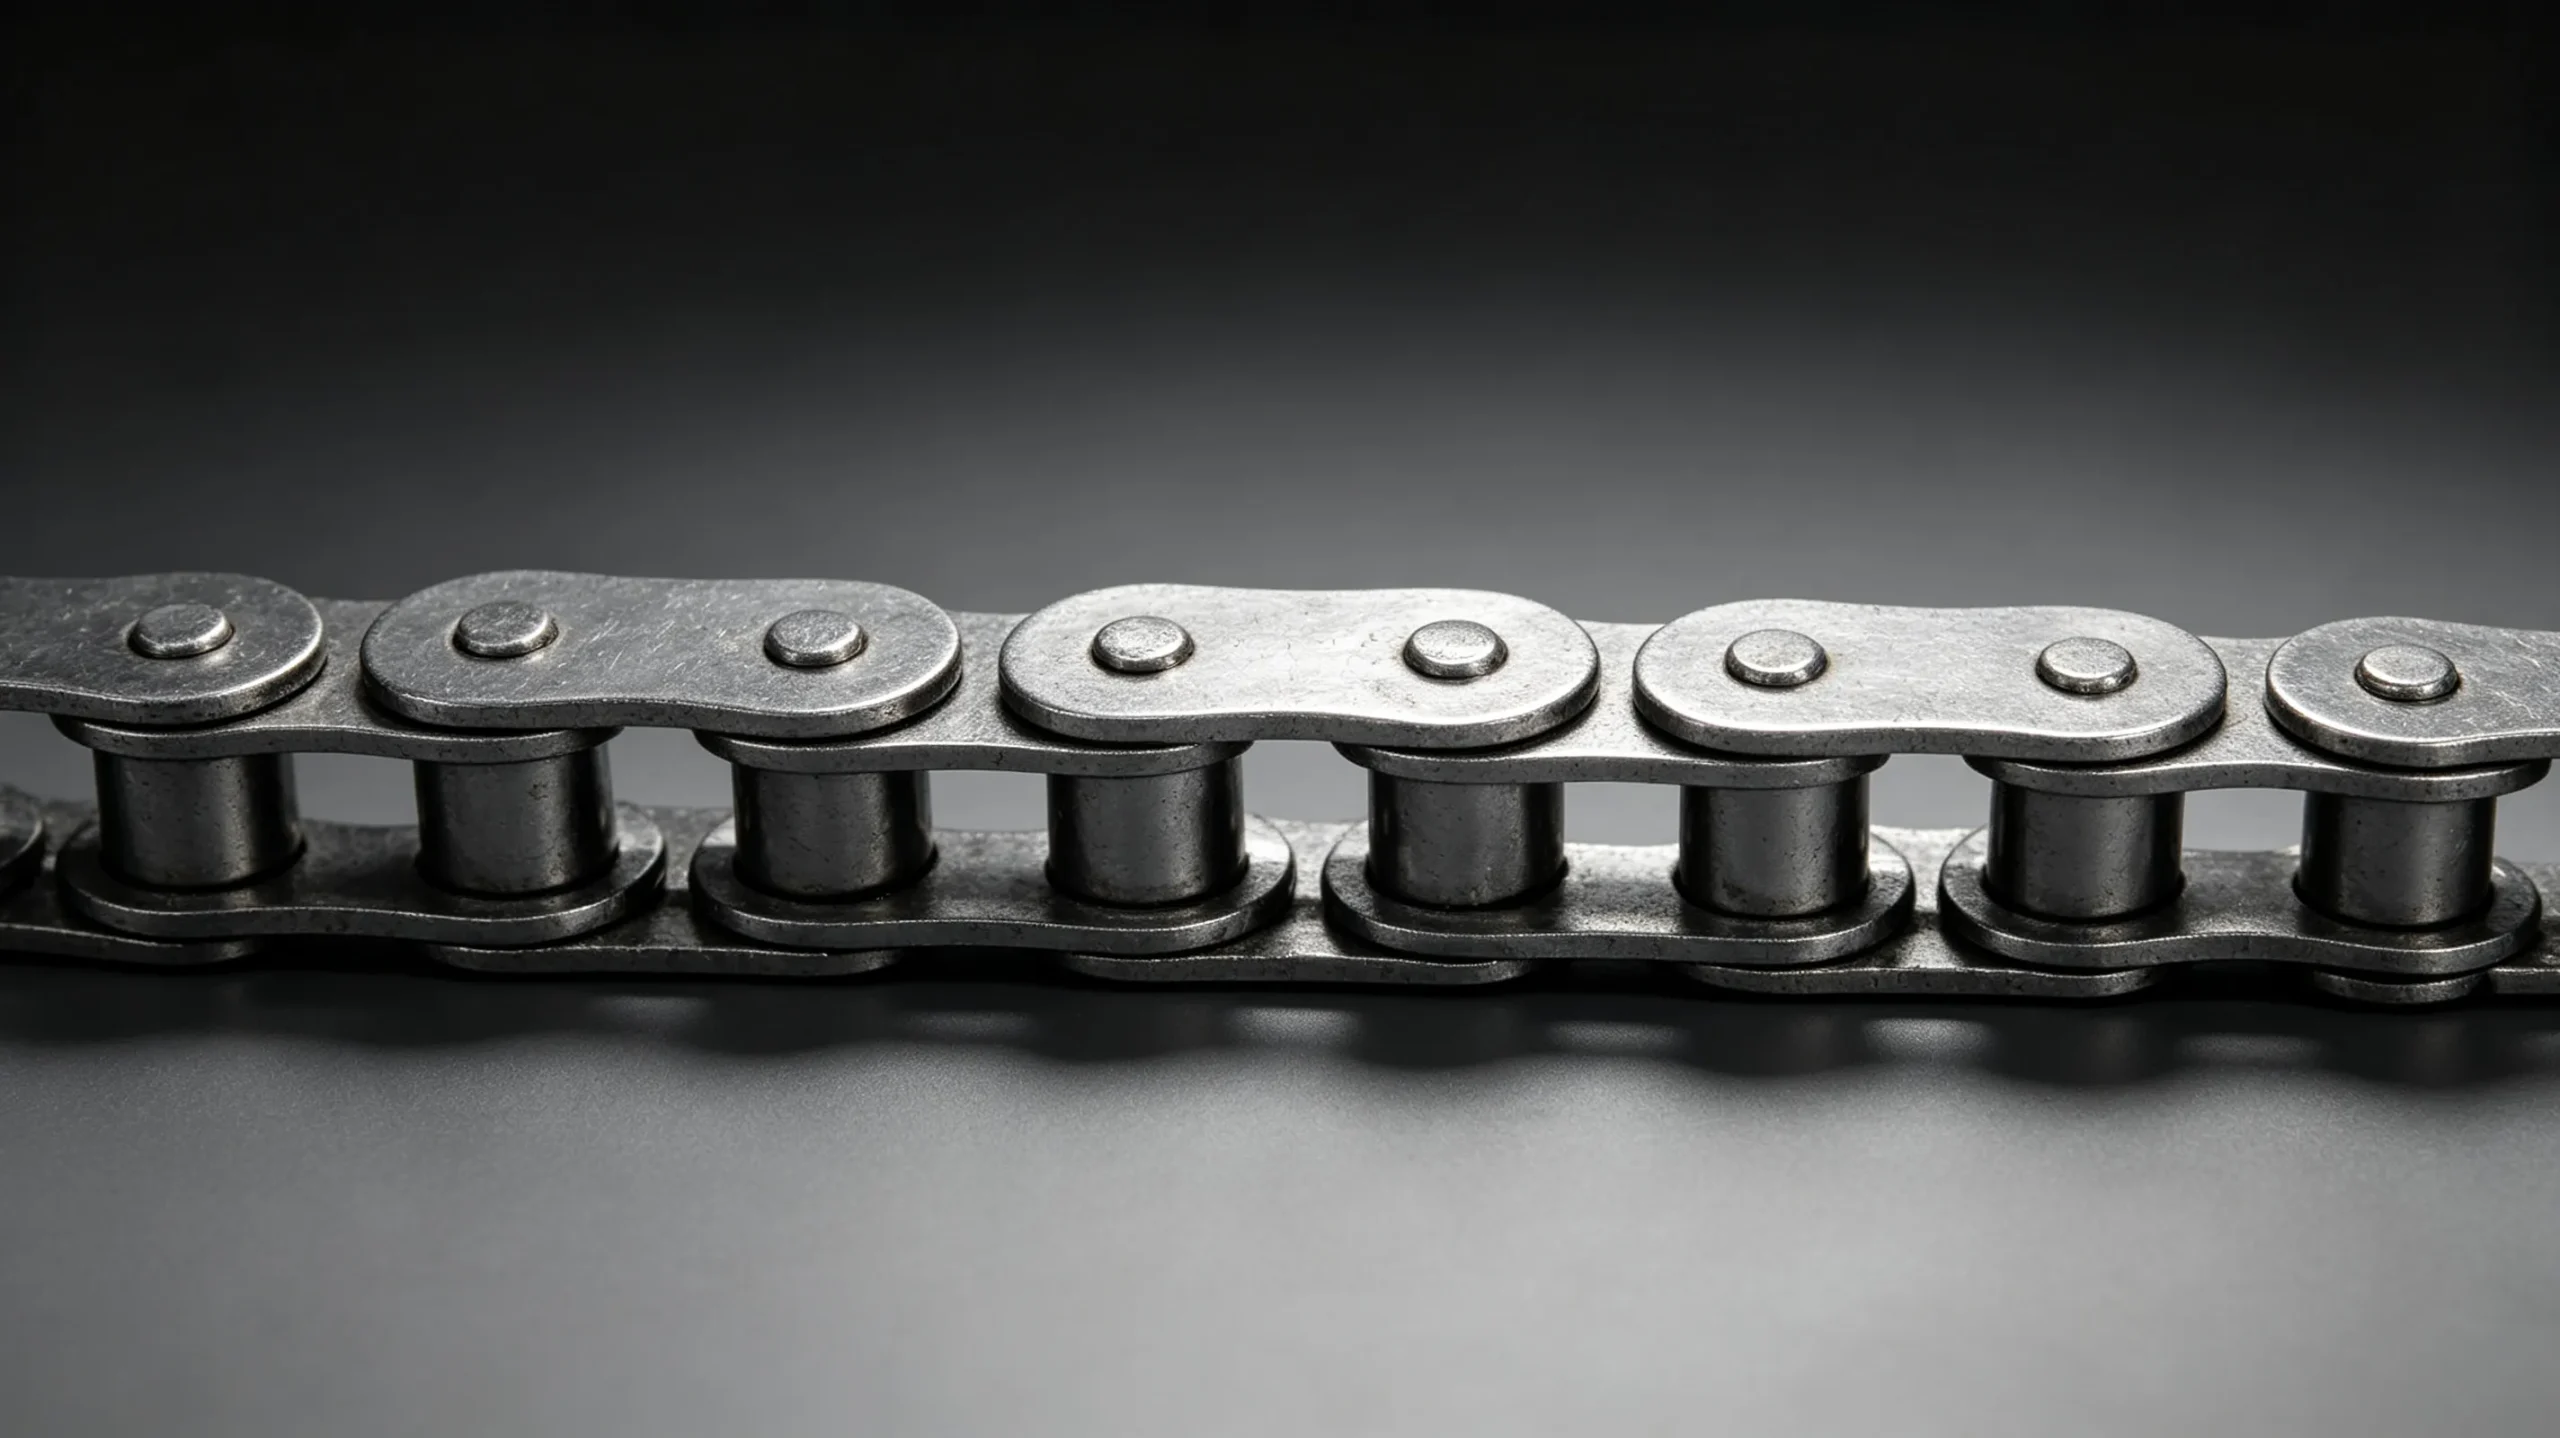
The most common root cause of repeated chain fracture is operating the chain above its rated working load. This can occur at the design stage — the chain was originally sized for a lower power requirement that has since been increased — or it can be a calculation error that underestimated the peak load including service factor for the shock level of the application.
The diagnostic sign is fatigue cracking at the pin hole edges of the link plates. Fatigue fractures in roller chain plates are characterised by a smooth, flat fracture surface at the pin hole progressing to a rougher zone where final fracture occurred. If you see this pattern on a failed chain, the chain was cycling above its endurance limit at the pin hole stress concentration. The solution is either to use heavy duty roller chain (ANSI H series) for the same pitch, or to move to the next larger pitch where the standard plate provides adequate endurance margin for the actual load.
Cause 2: Failure at the Connecting Link
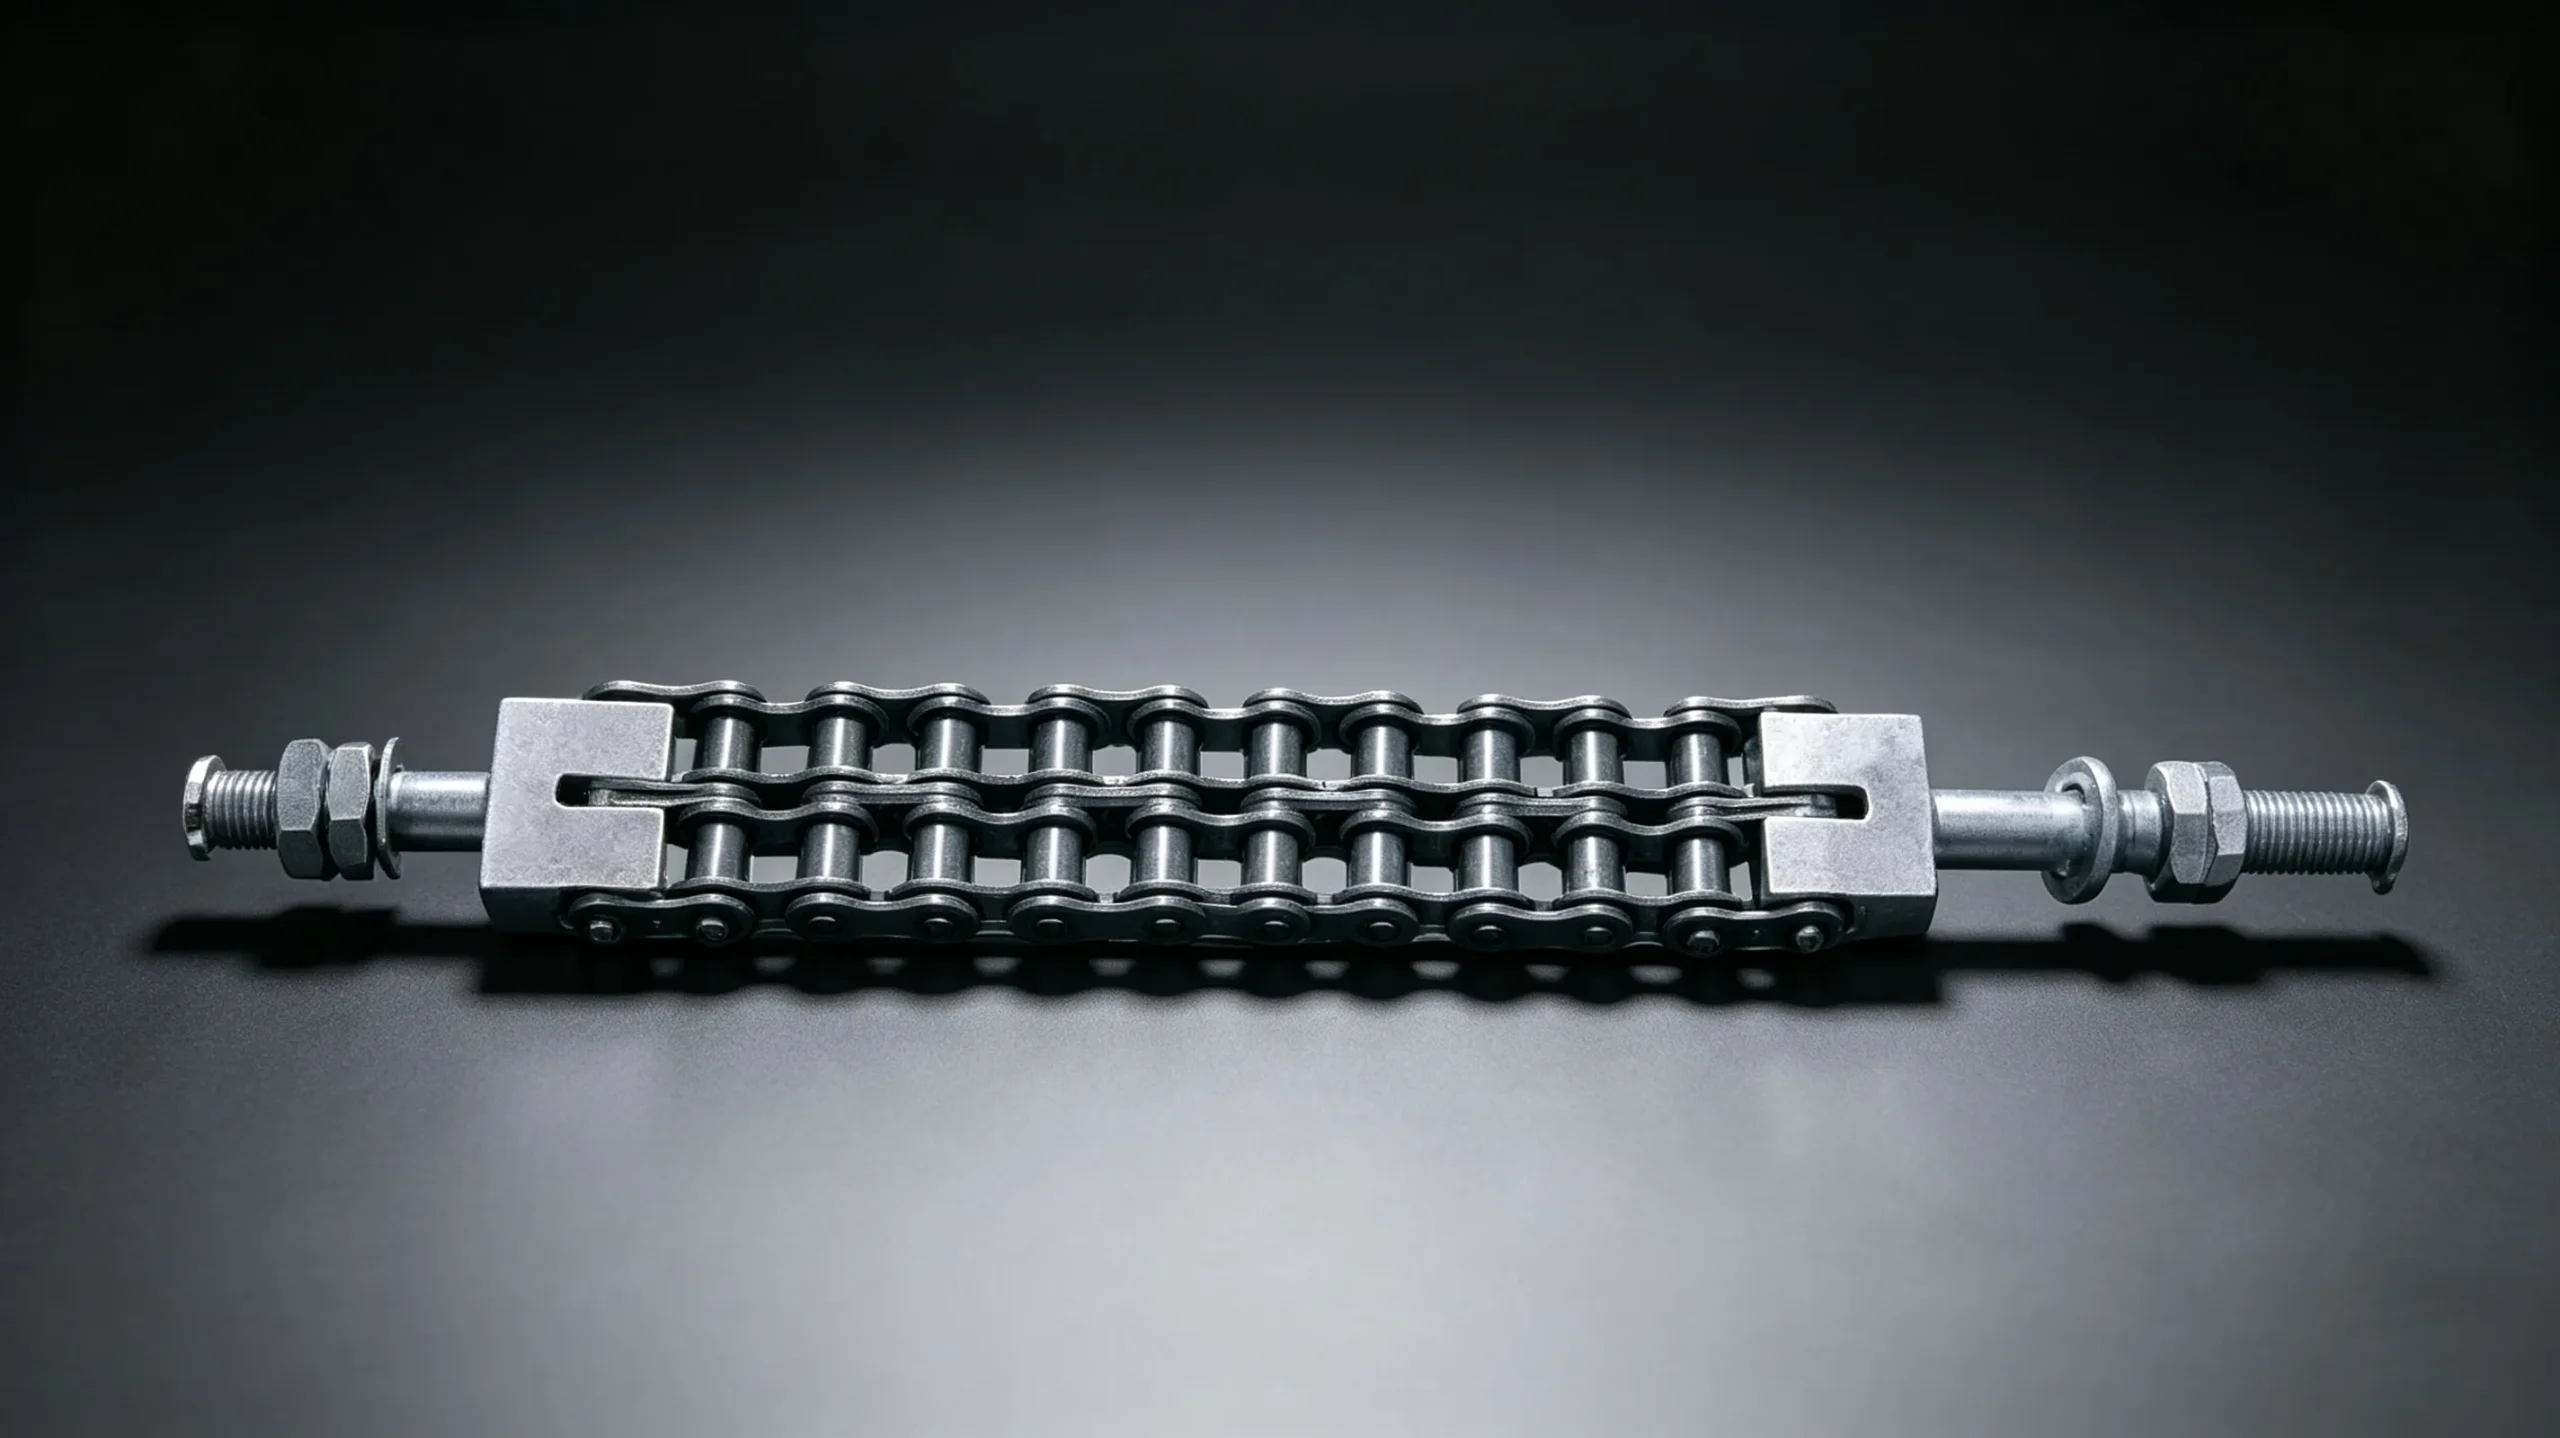
The connecting link (master link) is the weakest point in most chain assemblies, rated at 85 to 95 percent of the chain breaking load depending on the retention type used. A disproportionate number of in-service chain breaks occur at the connecting link — and not because the connecting link is defective. The two most common causes are incorrect assembly (spring clip not fully seated, cotter pin spread insufficiently) and using a spring clip connecting link in a heavy-shock or high-vibration application where a cottered connecting link is required.
If your roller chain consistently breaks at the connecting link, check the following: Is the spring clip fully seated in the groove on both pins? Is the closed end of the spring clip facing the direction of travel (not the open end, which can be pulled off by contact with guides)? For shock or vibration applications, is a cottered connecting link specified? Replacing the spring clip with a cottered roller chain connecting link, correctly assembled, resolves this failure mode in the majority of cases.
Cause 3: Misalignment Between Drive and Driven Sprockets
Sprocket misalignment is a particularly insidious cause of repeated chain fracture because it is invisible during operation and produces failure patterns that are easily mistaken for overloading. Lateral misalignment — where the sprocket faces are not in the same plane — forces the chain to run at an angle through the engagement arc, generating lateral bending loads on the pins and inner plate faces that the chain is not designed to carry.
The diagnostic sign of misalignment-induced failure is wear on the inner faces of the inner link plates (the faces that contact the sprocket tooth sides) and bending deformation of the pins in the direction perpendicular to the chain centreline. Check alignment with a straight edge across the face planes of both sprockets — they should be coplanar within 0.5 to 1.0 mm. Correct alignment by adjusting sprocket position on the shaft or by repositioning the shaft bearing if necessary before installing the new chain.
Cause 4: Incorrect Chain Pitch or Standard
A chain of the correct pitch but wrong standard — for example, an ISO roller chain installed on ANSI sprockets — will have a roller diameter that does not match the sprocket tooth pocket geometry. The roller seats incorrectly, generating off-centre loads on the roller and tooth faces. More critically, the mismatched geometry produces impact loads at each tooth engagement that are significantly higher than the design intent. Repeated impact loading at this elevated level causes premature plate fatigue and pin shear.
This cause is common in Australia when equipment changes hands, when parts are sourced from unfamiliar suppliers, or when a maintenance team replaces a chain based on pitch measurement alone without verifying roller diameter and inner width. Always verify the complete specification — pitch, roller diameter, and inner width — before ordering replacement roller chain.
Cause 5: Chain Too Tight
Excessive tension in a roller chain drive — from insufficient slack-side sag or from a take-up that has been over-tightened — adds a static pre-load to the chain in addition to the working tension from transmitted power. In a correctly tensioned drive, the slack side carries only enough tension to maintain engagement (approximately 1 to 2 percent of the tight-side tension for horizontal drives). An over-tensioned chain effectively starts every operating cycle with elevated baseline tension, reducing the available tension margin for dynamic loads before the working load limit is reached.
The diagnostic sign is fatigue cracking that occurs uniformly across multiple links rather than concentrated at a single connecting link or a few consecutive links. This pattern indicates that many links are cycling above their fatigue limit simultaneously — consistent with a uniform elevation of the baseline tension from over-tightening. Correct the tension to achieve a slack-side sag of approximately 2 to 3 percent of the centre distance, and monitor whether the fracture pattern resolves on the replacement chain.
Cause 6: Running Chain Over Worn Sprockets
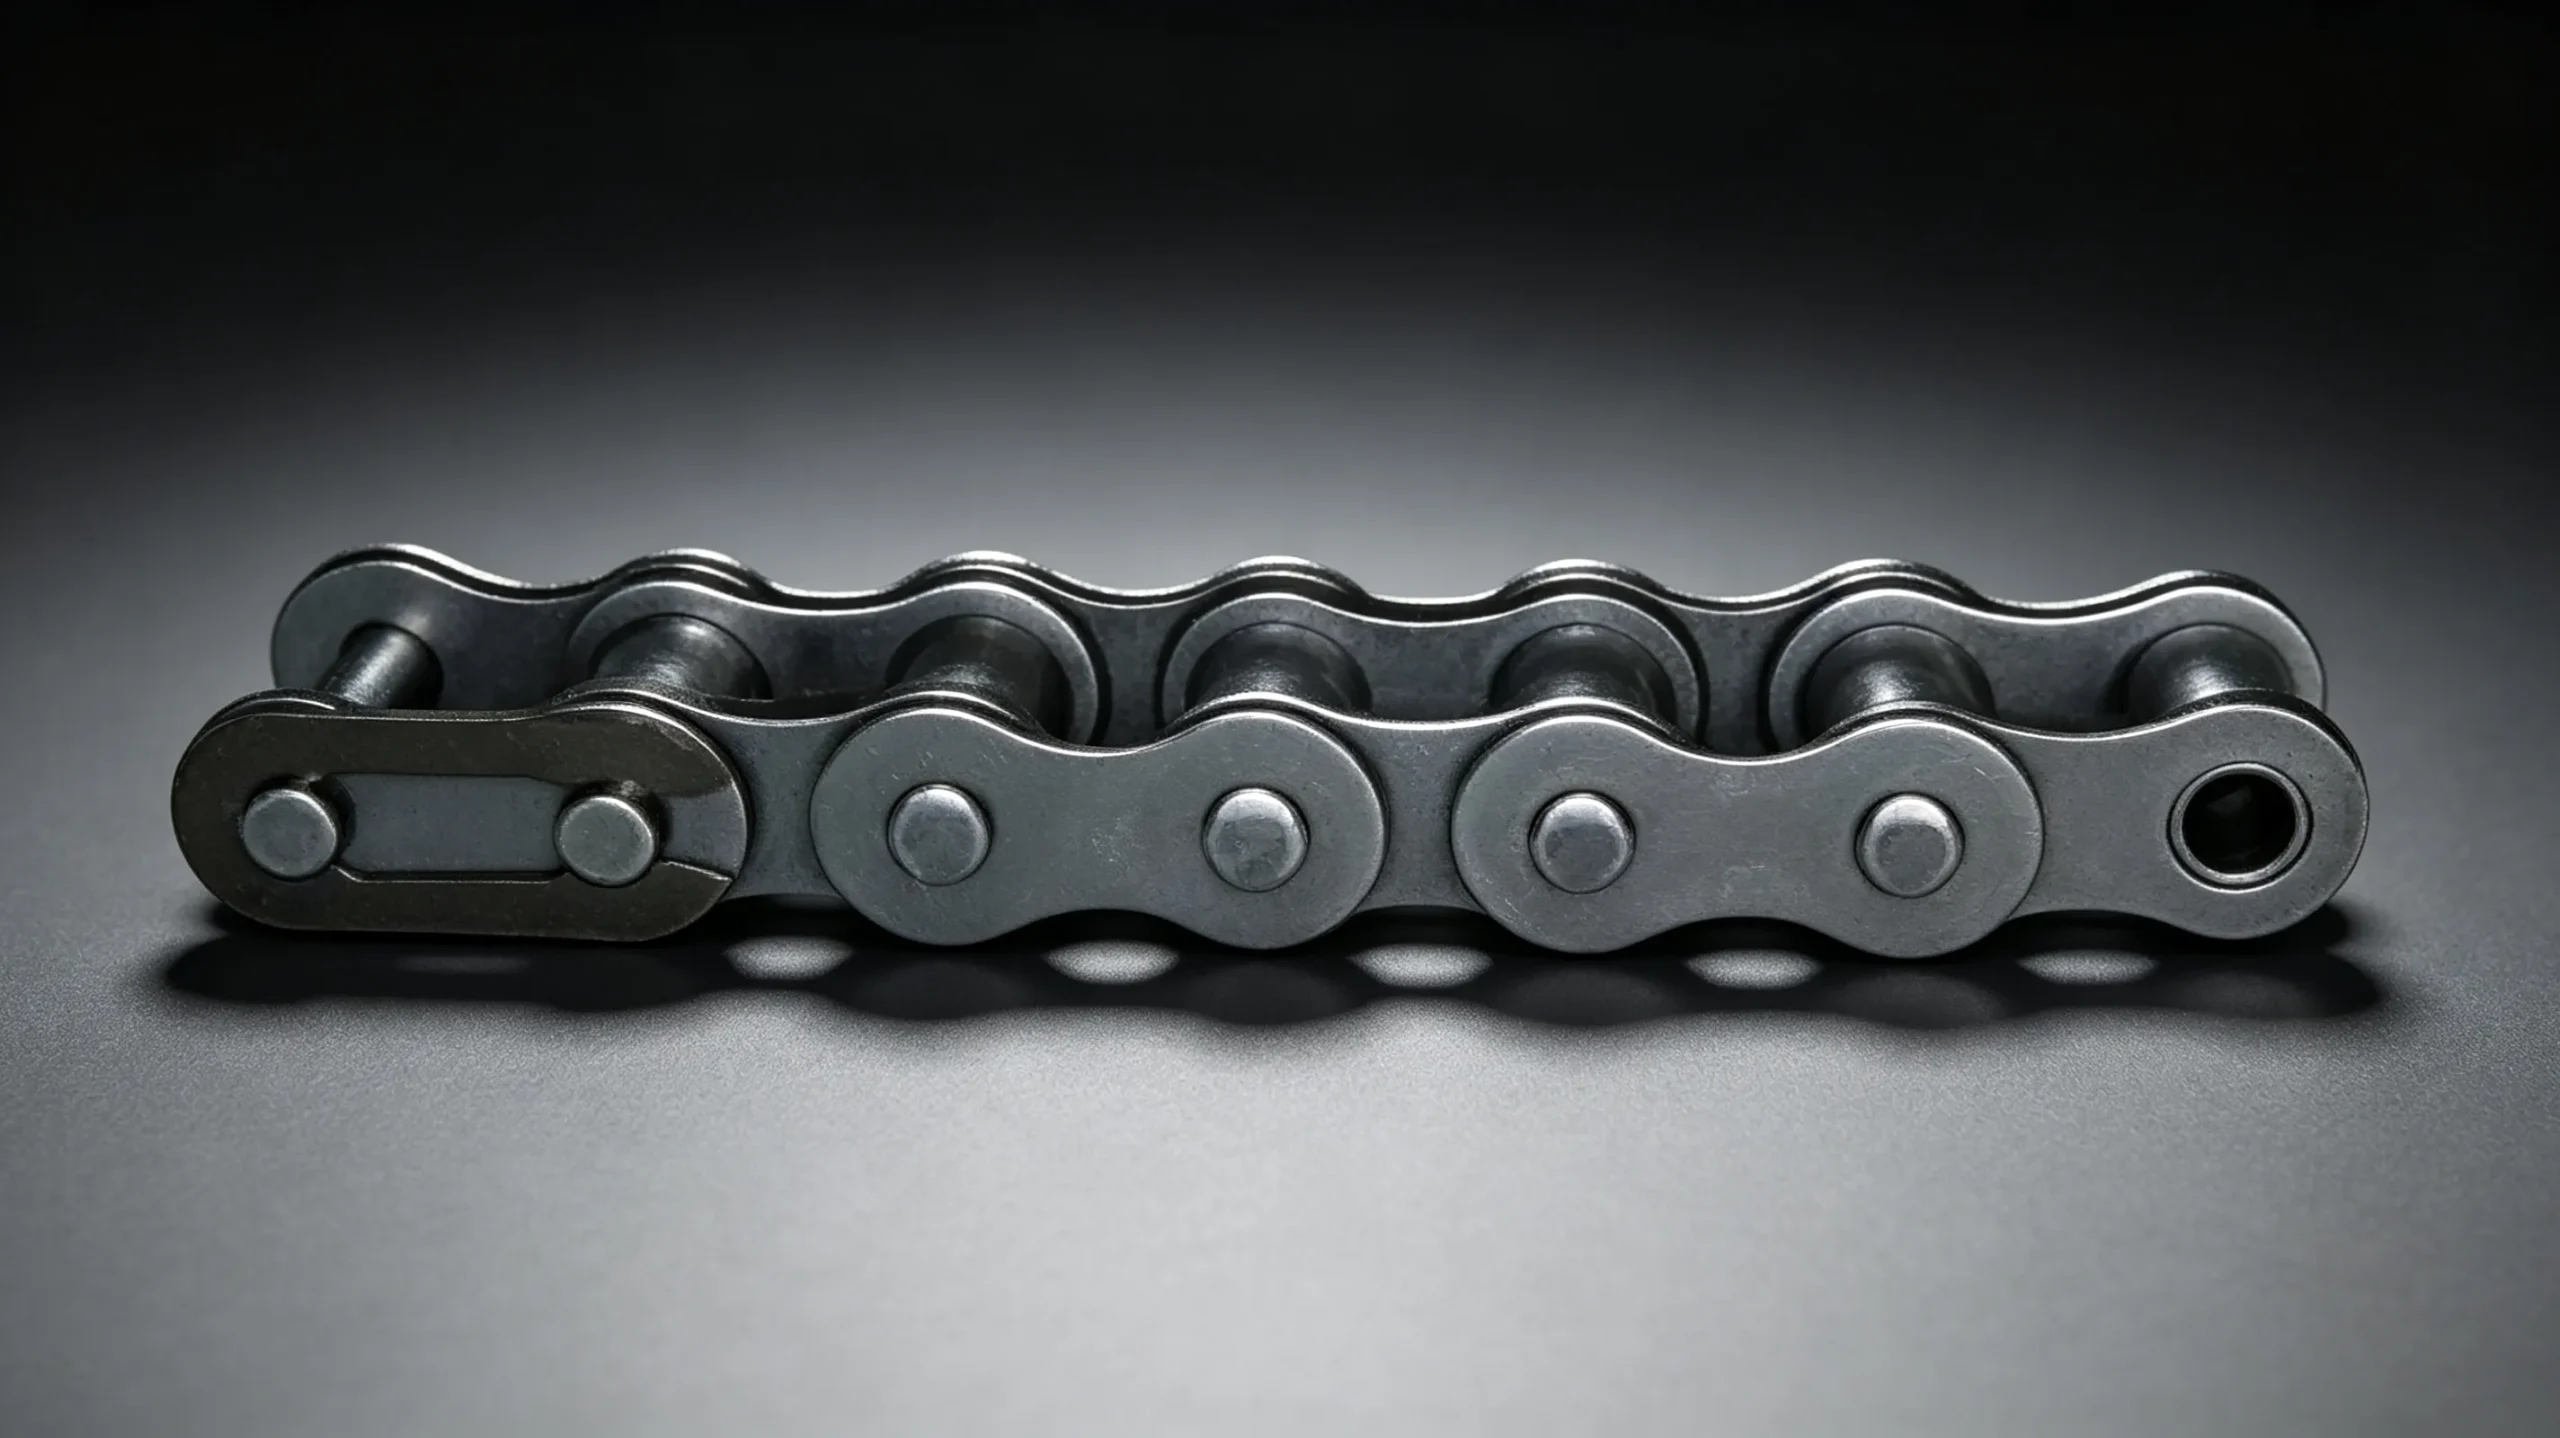
A new chain installed on worn sprockets inherits the failure conditions created by the previous elongated chain. Worn sprocket teeth develop a hooked profile — the tooth tip extends forward relative to a new tooth because the elongated chain was pulling it forward on each engagement. When a new chain — with its correct, shorter effective pitch — engages these hooked teeth, the rollers impact the tooth tips rather than seating smoothly at the tooth root. Each engagement produces an impact load spike that is substantially higher than the design load.
Field experience consistently shows that a new roller chain installed on hooked sprockets achieves only 30 to 60 percent of the service life that the same chain would achieve on correctly profiled sprockets. If your chain keeps breaking after short service intervals and you have been replacing chain without replacing sprockets, this is almost certainly a contributing cause. Always inspect sprocket tooth profile when replacing chain — if the teeth show a hooked or asymmetric profile, replace the sprockets concurrently.
Cause 7: Environmental Attack — Corrosion and Chemical Exposure
In outdoor agricultural, coastal, or chemical processing environments, carbon steel roller chain is subject to corrosion that reduces the effective cross-sectional area of the link plates and introduces surface pitting at the pin holes — exactly the location where fatigue cracks already preferentially initiate. A corroded plate has a stress concentration factor at the corrosion pit that is additive to the inherent stress concentration of the pin hole geometry. Under the same operating load, a corroded plate will fail in fewer cycles than a clean plate.
If your chain is breaking and you can see rust, pitting, or chemical staining on the plates, corrosion is a contributing factor. The solution depends on the environment: for outdoor agricultural applications, more frequent lubrication with a corrosion-inhibiting oil and storage inside when not in use; for marine or chemical environments, specification of stainless steel roller chain (304 or 316 grade) to provide inherent corrosion resistance.
| Cause | Diagnostic Signs | Solution |
|---|---|---|
| Overloading | Fatigue crack at pin holes, smooth fracture surface | Upgrade to heavy series or next pitch; recalculate service factor |
| Connecting link failure | Break consistently at connecting link location | Use cottered connecting link; verify spring clip orientation |
| Misalignment | Inner plate face wear; pin bending perpendicular to chain | Check and correct sprocket alignment to within 0.5mm lateral |
| Wrong specification | Roller does not seat at sprocket tooth root; tip wear | Verify pitch, roller dia, inner width; replace with correct standard |
| Over-tension | Uniform fatigue cracking across multiple links | Adjust slack-side sag to 2–3% of centre distance |
| Worn sprockets | Short new chain life; hooked tooth profile visible | Replace sprockets concurrently with chain |
| Corrosion | Surface pitting at pin holes; rust on plates | Improve lubrication; specify stainless steel for severe environments |
EverPower Roller Chains Australia provides failure diagnosis support for repeated roller chain breakage. Contact our Sydney team with photographs of the failed chain and a description of the application — our technical team will help identify the root cause and recommend the correct replacement specification.
+61 2 9708 3322 | [email protected] | 27 Harley Crescent, Condell Park NSW 2201