
Installing a master link (connecting link) correctly in field conditions — no workshop bench, limited tools, time pressure — requires knowing the correct installation sequence and the common errors that occur when the procedure is rushed. A connecting link installed incorrectly in the field is at high risk of failing unpredictably under load, potentially causing a chain strike or drive failure that takes far longer to repair than taking an extra two minutes to install the link correctly. This guide focuses on the field installation technique for both spring clip and cottered master links, including specific challenges on different machine types.
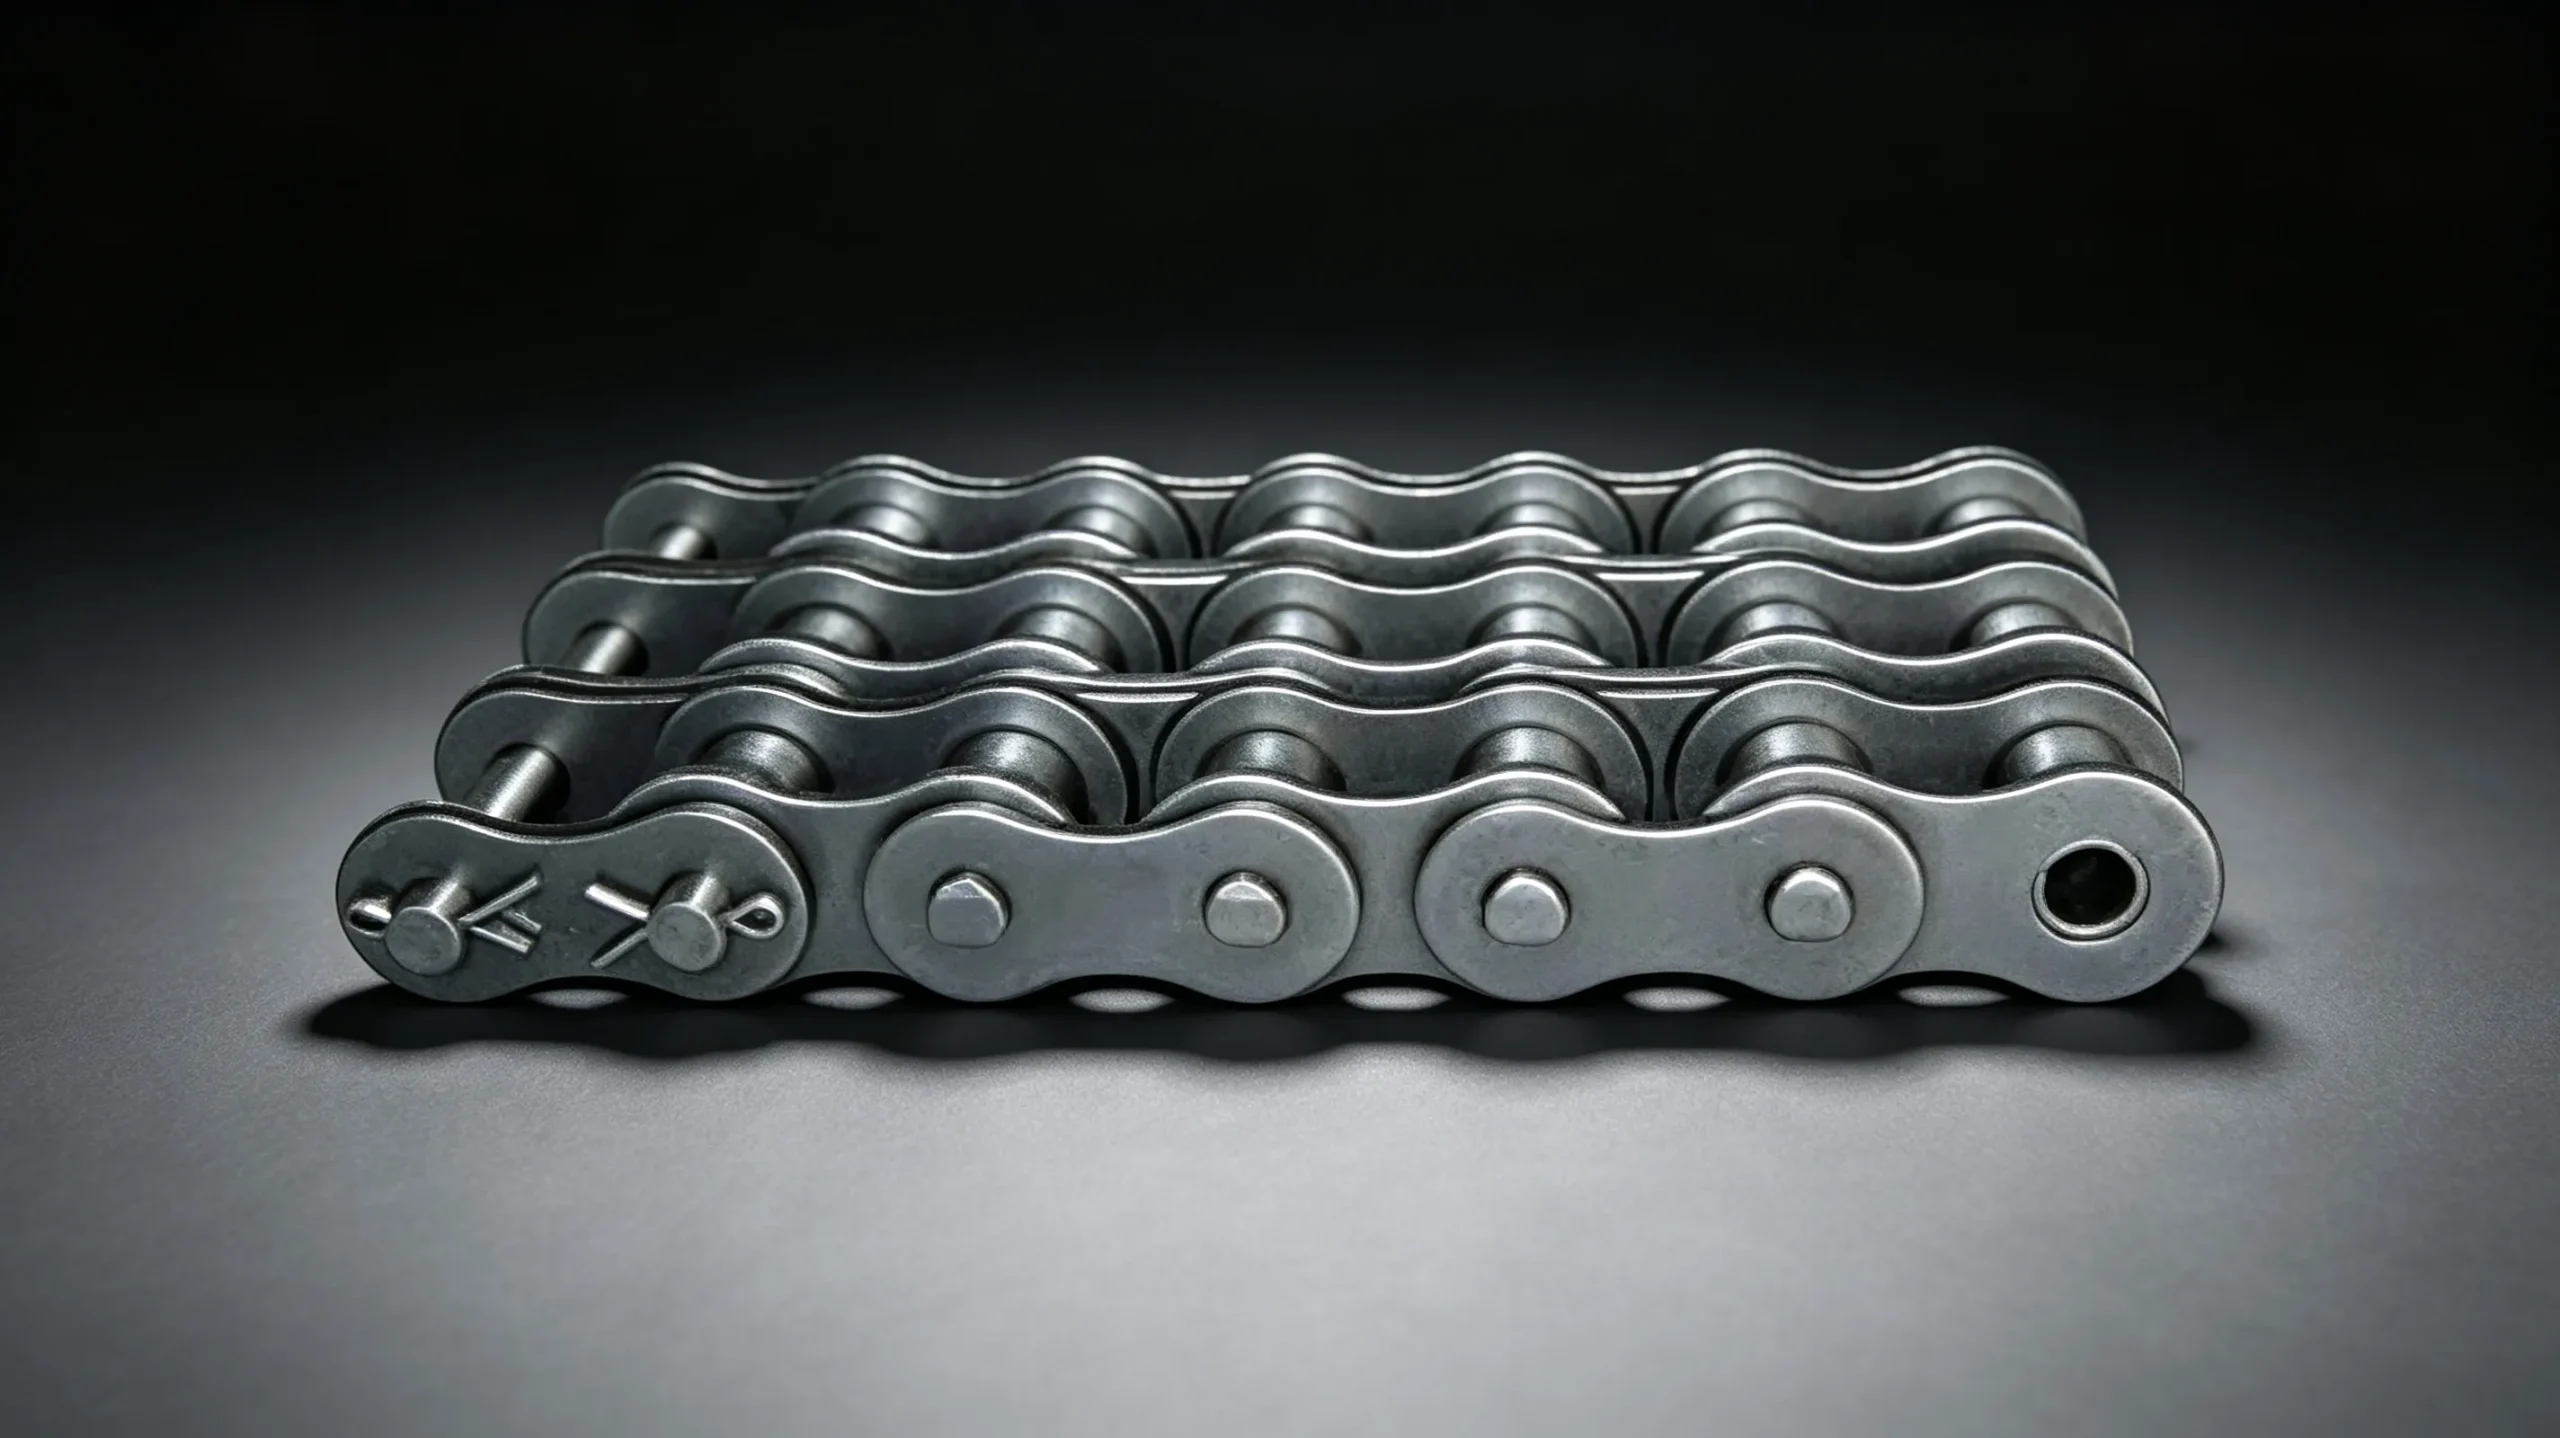
Tools for Field Master Link Installation
The minimum tool set for a correct field master link installation: long-nose pliers (for spring clip installation and cottered link cotter spreading); for cottered links, optionally a small hammer to assist with spreading if pliers cannot generate enough leverage. Ideally, carry a pre-prepared connecting link kit for each common chain size on your machine — the master link, outer plate, and fresh cotter pins pre-loaded in a small labelled bag. This eliminates field fumbling with components in poor light or dirty conditions.
Field Installation: Spring Clip Master Link
Bring both open chain ends together on the slack side of the drive. Re-thread the chain over sprockets if it has come off. Both ends should present inner link plates (holes facing outward) at the join point.
Place both chain ends side by side and push the connecting pin through both sets of inner plates simultaneously. The pin should pass through with firm hand pressure.
Slide the outer connecting plate over both protruding pin ends. Both pin ends should protrude equally.
Locate the circumferential groove on each pin end. Place the spring clip across both grooves with the CLOSED (solid) end facing the direction of chain travel. Push both legs into both grooves simultaneously with long-nose pliers.
Attempt to slide the clip laterally with your fingernail — it must not move. If one leg missed the groove, the clip will slide freely to one side. Remove and reinstall correctly.
Field Installation: Cottered Master Link
Position ends on slack side, thread connecting pin, fit outer plate.
The cross holes are visible at the protruding pin ends beyond the outer plate. Thread a new cotter through each hole. Never reuse a previously spread and straightened cotter pin — it is metal-fatigued at the bend.
Grasp each leg separately and bend outward to approximately 60 to 90 degrees from the pin axis. In the field, brace the pin end against a firm surface (machine frame) while spreading.
Pull the outer plate firmly toward the pin ends after both cotters are spread. The plate must not move along the pin axis — if it does, the cotters are not spread adequately. Spread both more before returning to service.
Specific Machine Challenges
Combine Feeder House Chain — Limited Access
The feeder house chain often requires threading through the feeder house drum area before connecting. Attach a length of string or wire to one chain end before threading, then pull the string through the feeder house to draw the chain into position. Connect the master link on the slack side at the lower feeder house opening where both chain ends are accessible.
Round Baler Net Wrap Drive — Small Pitch Chain in Confined Space
Small pitch chain (ANSI 40 or ANSI 50) in a round baler drive runs in confined space with multiple driven components. The connecting link outer plate and spring clip are correspondingly small and easily dropped. Dip the spring clip in a small amount of grease before installation to make it slightly sticky and easier to hold in position during assembly.
Grain Auger Chain — Routing Through the Tube
When replacing grain auger chain, attach the new chain to the old chain or a pull wire at one end and pull it through as the old chain is removed. Connect the master link at the tube opening where the chain is accessible. Verify chain orientation before connecting — the chain must run in the correct direction for the auger to rotate correctly, and the master link closed end must face the direction of travel.
EverPower Roller Chains Australia maintains ready stock of master links in all common ANSI and ISO sizes. Contact our Sydney team at +61 2 9708 3322 or [email protected]. We also supply connecting link assortment kits for agricultural field maintenance.
+61 2 9708 3322 | [email protected] | 27 Harley Crescent, Condell Park NSW 2201